Friday, February 4, 2011

A-B-C Magnets

Here is my first attempt at a tutorial...

 My inspiration for this project comes from a tutorial posted on Nice Girl Notes, which I followed very closely. 

I've always loved the idea of having Alphabet Magnets--being able to make fun words, write cute little notes, and of course having lots of magnets to hold stuff up! But I've also always thought they looked...kind of... well...tacky. So I immediately fell in love with this tutorial!!

Here's what you'll need:
1. flat wooden disks 
2. rub-on letters (found in the scrapbook section)
3. magnet strips


4. two cans of spray paint 
      -a darker color {I chose Espresso} & a lighter color {I chose a greenish/khakiish color}
5. sandpaper

Everything can be found at Hobby Lobby except I bought my sandpaper and paint at Home Depot (because it was cheaper there.)


And incase you are like myself (I literally had to ask someone at Hobby Lobby) and have no clue what rub-on letters are this is what are you going to be looking for...


Once you have everything it's time to start painting!!! I did this in my basement where I do most of my crafting. The smell gets kind of strong so I would recommend doing this outside.


1.  Spray away!!! Spray both sides with your Espresso spray paint--I did two coats on each side.

2.  Spray away again!!! Spray both sides with your lighter color. 2 or 3 coats, until completely covered.

3.  Let dry thoroughly (I waited at least 24 hours) and then sandpaper your disks to let a little of the Espresso and wood show through. 

4.  Get a glass of wine or beverage of your choice. Wipe off the sandpapered remains, I used a damp paper towel. And then you are ready to rub letters onto each disk.

5.  Cut, peel and stick your magnets to the back of each disk. I ended up using a lot more magnets than I thought I would because I wanted them to actually be able to hold something to the fridge.


That's it! Your done! You now how have fabulous non-tacky A-B-C magnets! This project was easy and did not take a lot of time. Most time spent is waiting for the paint to dry...literally, ha! They also make great gifts.


I gave them to Becca & Clint as part of their wedding gift and to my brother, sister-in-law and beautiful 1 year old niece for Christmas. I think that my Jason, my brother, enjoys playing with them more than Ryley so far. ;-)
 I found this note to his wife on their fridge last time I went over there. 


The DIY Show Off

&

Wednesday, January 26, 2011

Becca's Bachelorette Party + Lingerie Shower

Remember how I mentioned my dear friend Becca recently got married? Well before she tied the knot we decided to have a little party (or two) for her. I was so happy to help host this fun weekend in Florida!!

After just recently having my Mom's Surprise Birthday Party and learning how to make invitations from Brittany, I thought this time I might would be able to make these invitations on my own... 

I ended up needing a lot more help than I thought I would!!
 I am so thankful again for all of her help--I could NOT have done it without her. 

So, after a big THANK YOU to Brittany and without further ado, look at how great the invitations turned out.

{sorry for the blur, I removed a few... more private lines}

I thought they turned out so great! :)


Now here are a few clean pictures from the party...

The BRIDE has arrived...
and is excited to see all of the decorations!


Here are the yummy cookies that my wonderful mother helped me bake. 
We used bikini-shaped cookie cutters to serve as panties and bra's. 
I promise to share the delicious recipe with y'all soon!


She unwrapped her gifts...
 

We played a few games...
  
My team WON! I wish you all could have seen the train on our lovely TP Gown.


And then we all headed out for a fun night out!


Unfortunately, we all had to leave the beautiful beach at the end of the weekend.


Whether it was riding down there (which believe it or not was one of the highlights of the weekend), decorating for the party, seeing Becca's face when she arrived, watching her open her gifts, or playing embarrassing games;  I had so much fun spending this weekend with my dear friends celebrating Becca and her marriage!!


Monday, January 3, 2011

A Look at 2010

The year 2010 brought several great memories into my life. After reading my friend Ansley's blog post I was inspired to share some of my favorite memories with you all.

My beautiful new niece Emma Ryley was brought home from the hospital on January 3rd.

Alabama won the NATIONAL CHAMPIONSHIP!!

I celebrated my birthday with my lovely friends.

My last year of sorority events and date parties.


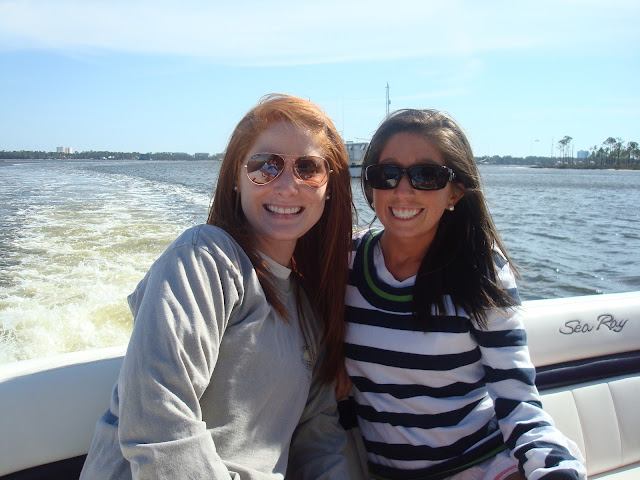
Cruising at the beach for our last spring break.

I met this turtle, that I like to call my boyfriend, in April.

My sweet parents celebrated their   25th  Wedding Anniversary. Here is one of my favorite pictures from their wedding and a picture of my mom's beautiful new additions to her wedding ring. 
 

McKinney was born!

I graduated college!!!


I attended my first sorority sister's wedding--it was absolutely beautiful. A GREAT job done my Mallory Wilkins Events & Interiors .


My first trip with the Bross Family to Gatlinburg,TN.


Becca--one of my very, very best friends got MARRIED!!!

2010 was such a great year! I am so thankful for each and every memory that I have from it.  And I promise more family & crafty pictures from Christmas will be up very soon (as soon as I can figure out how to use my NEW cameras software...).